
Requesting Refunds from Google Ads
his guide walks you through Google’s official refund process for invalid or suspicious clicks, showing how to prepare the right evidence with fraud0’s data.
Use this guide after reviewing Understanding Ad Spend Recovery Through Refunds.
Context
fraud0’s blocking already filters most invalid traffic before it ever appears on your Google Ads invoice. Still, when questionable clicks slip through, you can submit a refund request directly to Google.
Expectation Note
Google’s review process for manual refunds is strict and may take several weeks.
Even with a well-prepared case, refunds are not guaranteed.
Submitting precise, timestamped fraud0 evidence gives you the best chance of success.
This article provides a clear, step-by-step path - including where to include screenshots, what to write, and how to attach your fraud0 report.
Before you begin
Make sure you have admin or billing access to your Google Ads account.
Prepare the following evidence from fraud0:
Campaign IDs and names affected
Date range of the suspected invalid activity
Exported fraud0 IVT report or logs (CSV or PDF)
Have screenshots ready that show click spikes or unusual cost patterns.
Google Ad Traffic Quality. The official Google page that explains how Google identifies and filters invalid clicks, impressions and views. It outlines automated systems, machine learning and manual reviews. It also gives guidance for advertisers and publishers on how to monitor traffic and reduce invalid activity.
Step-by-Step: Submitting a Refund Request
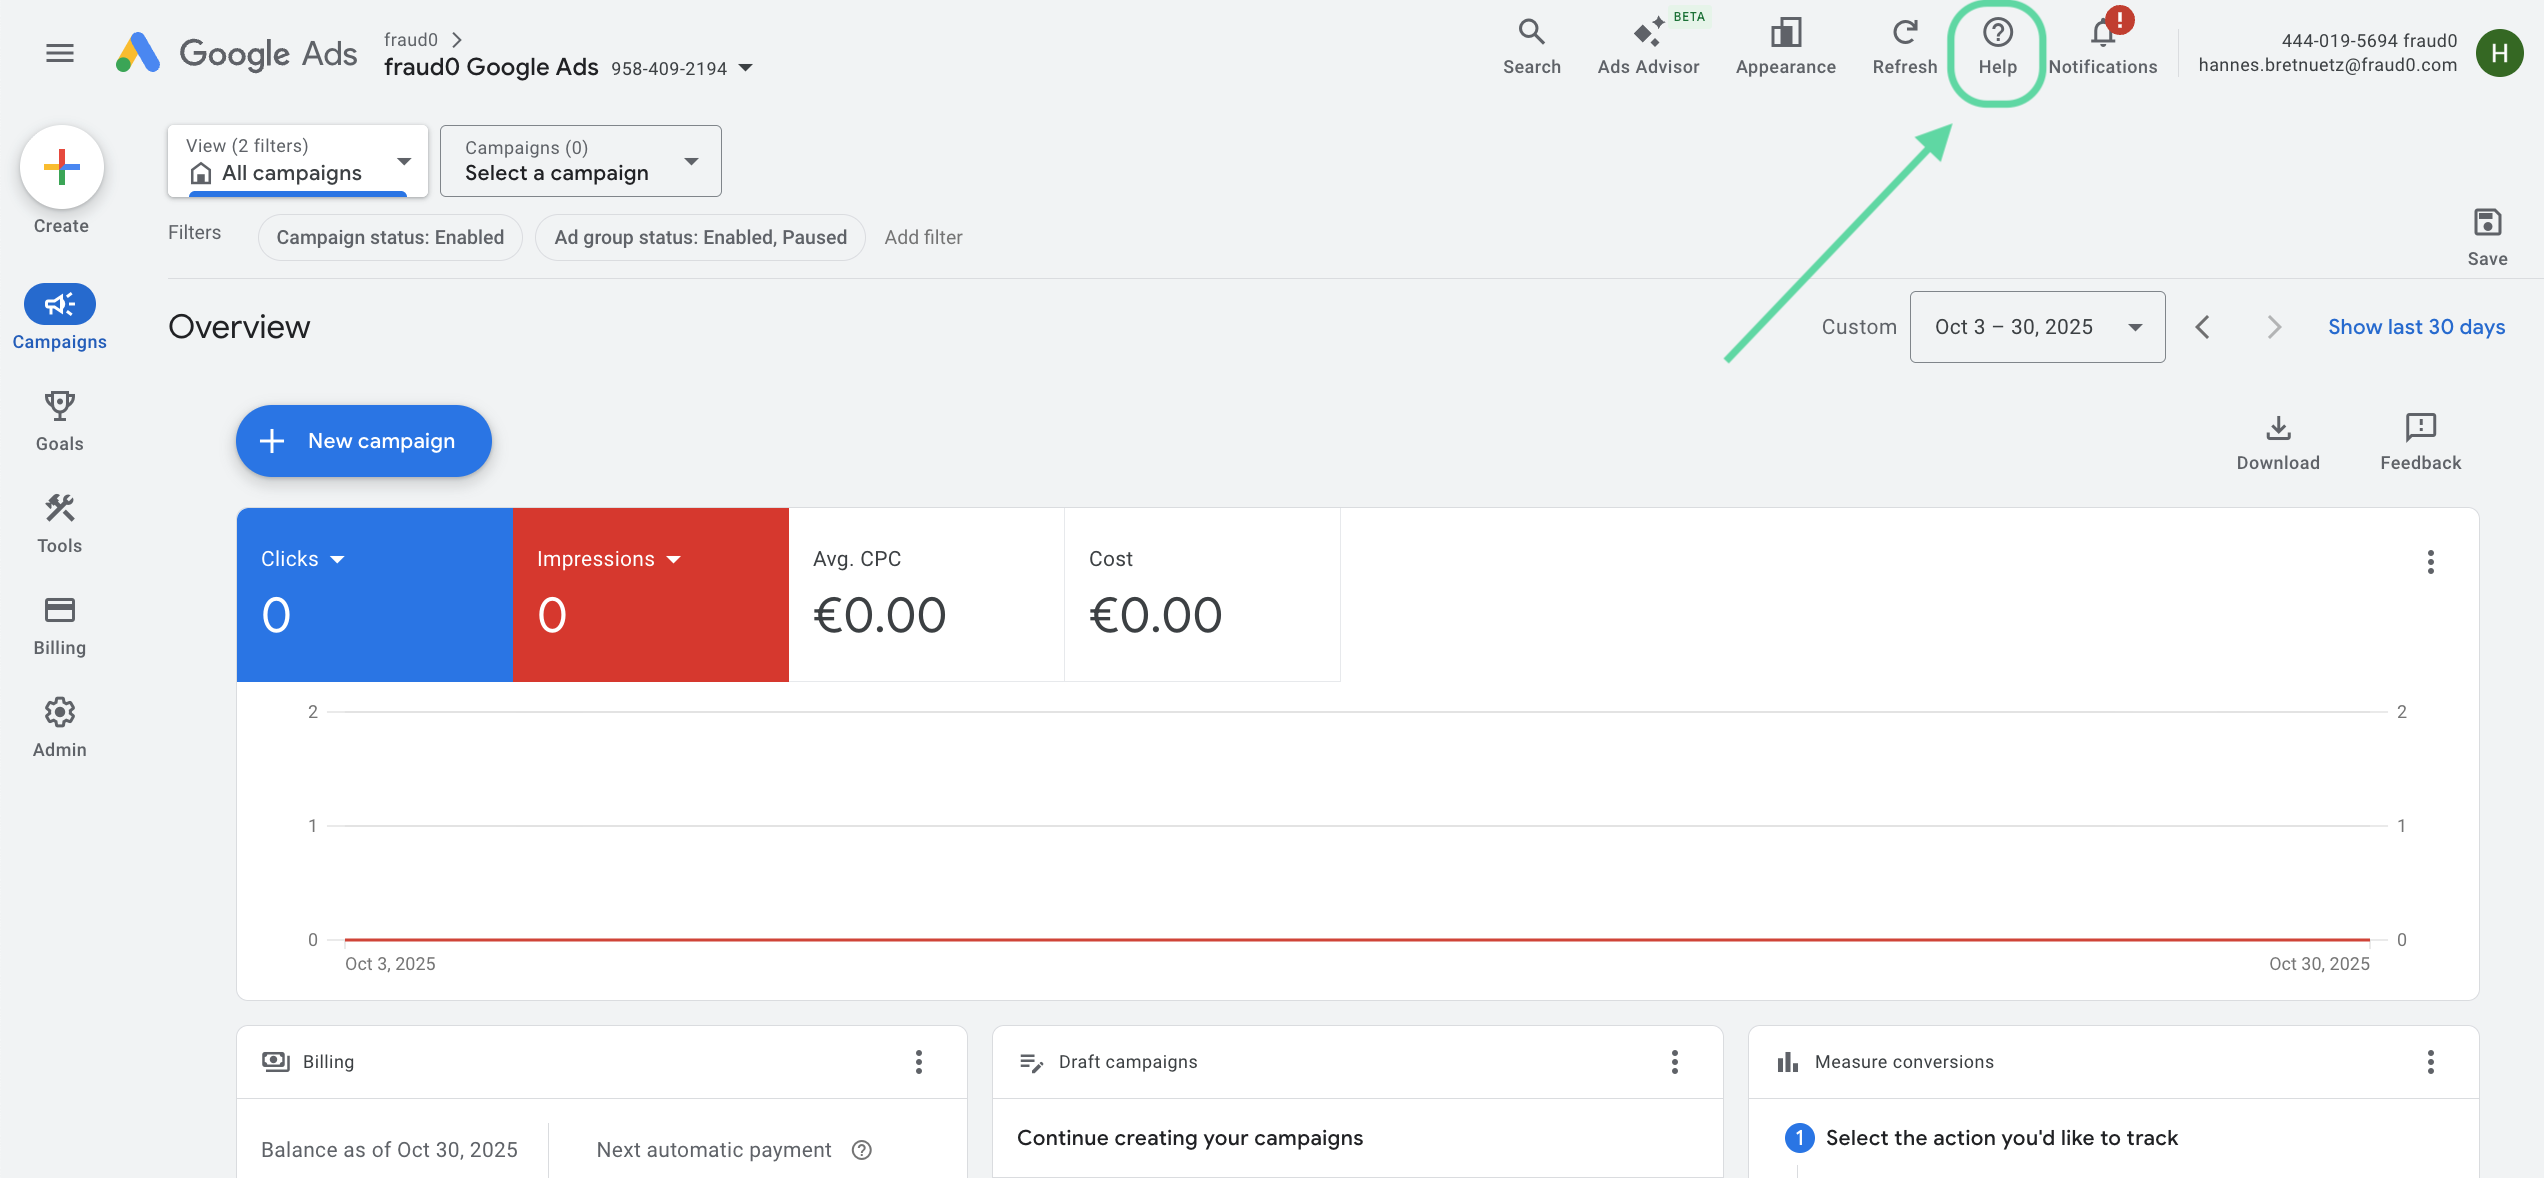
Step 1: Open the Help Center
Log into your Google Ads Manager account.
In the upper-right corner, click the Help (?) icon.
A help panel opens on the right side.
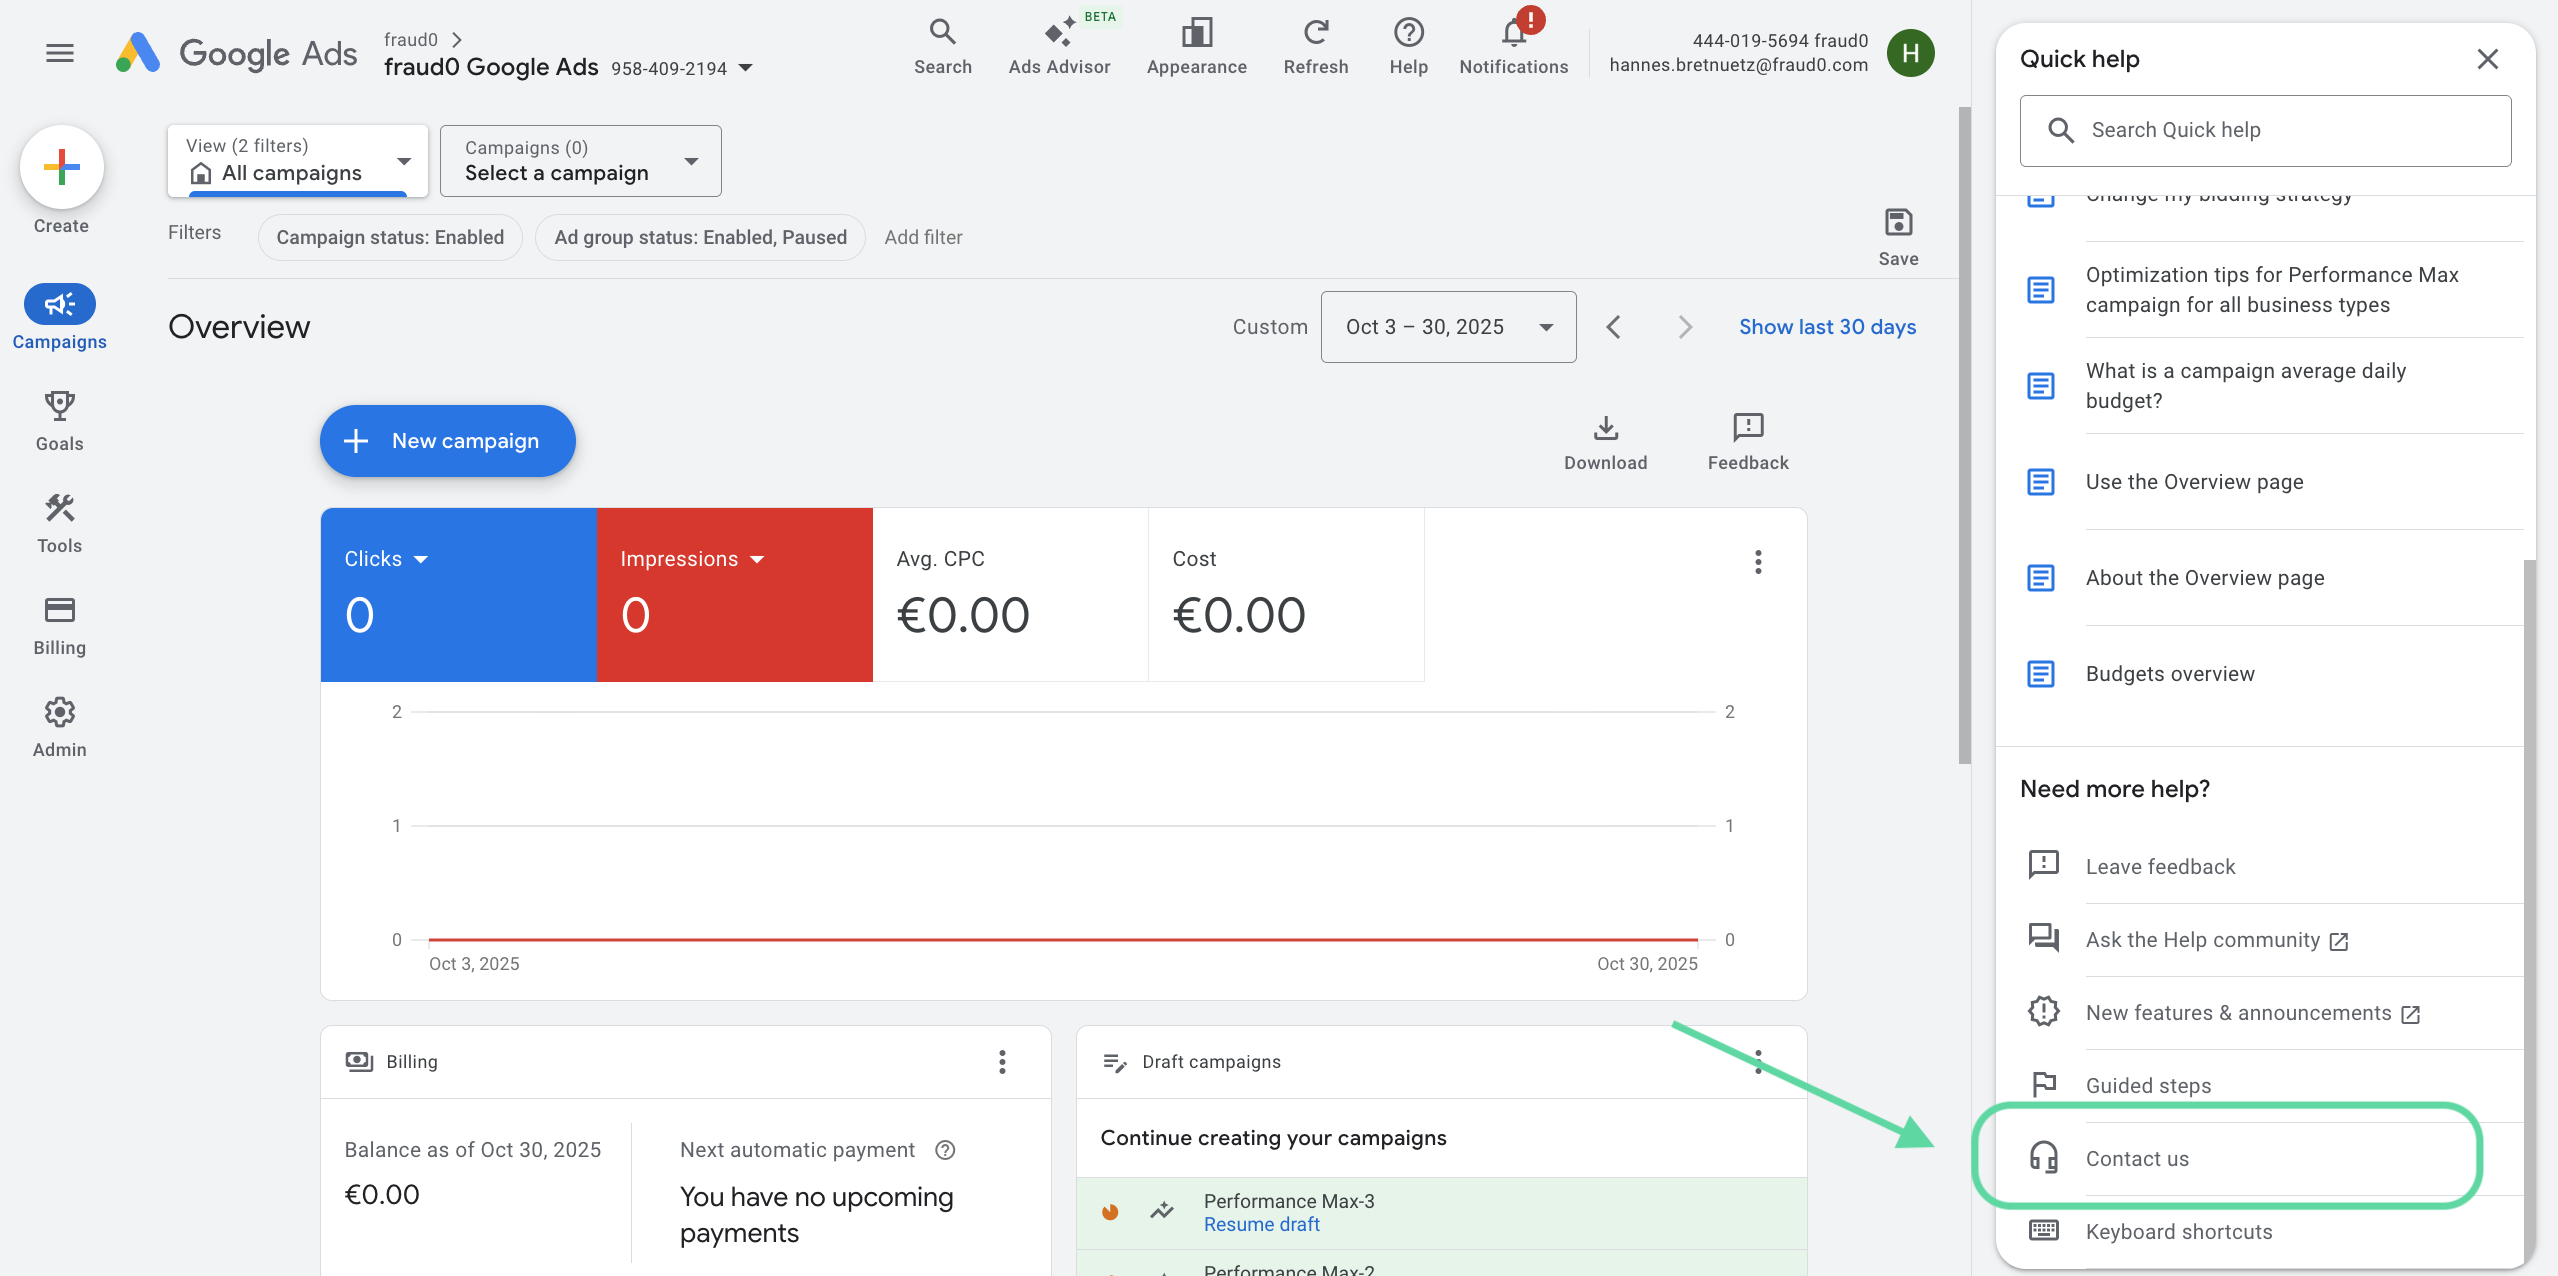
Step 2: Navigate to “Contact Us”
Scroll to the bottom of the Help panel.
Under Need more help? click Contact Us.
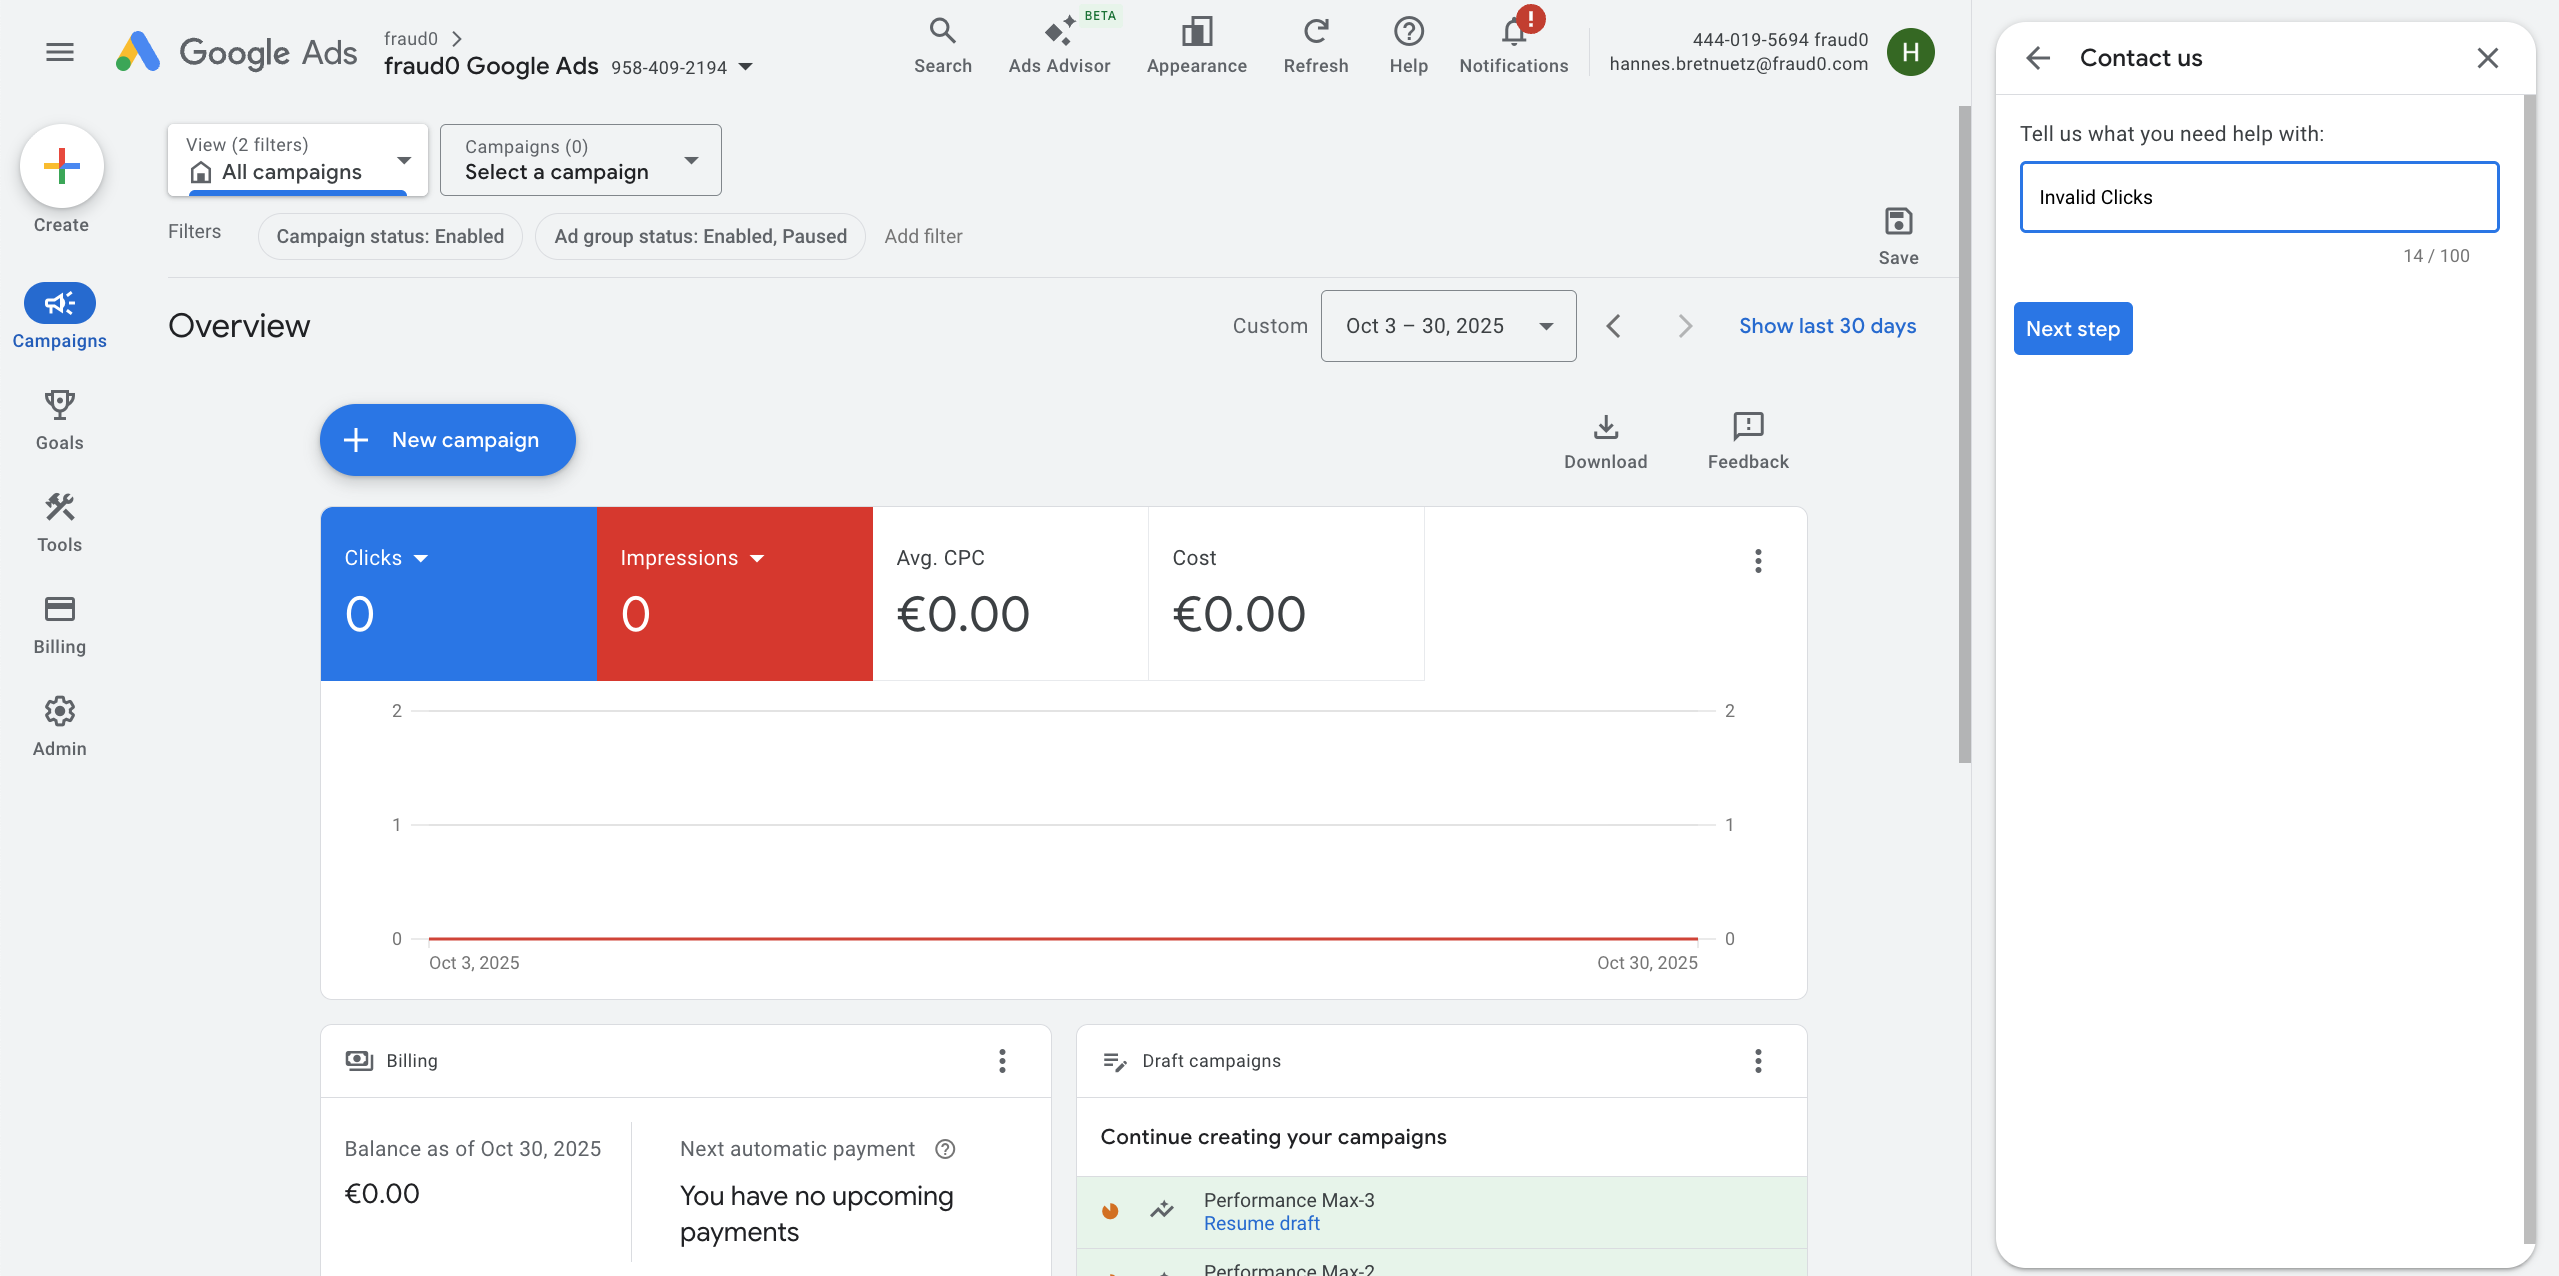
Step 3: Search for “Invalid Clicks”
In the field “Tell us what you need help with”, type
CODEInvalid ClicksClick Next Step to continue.
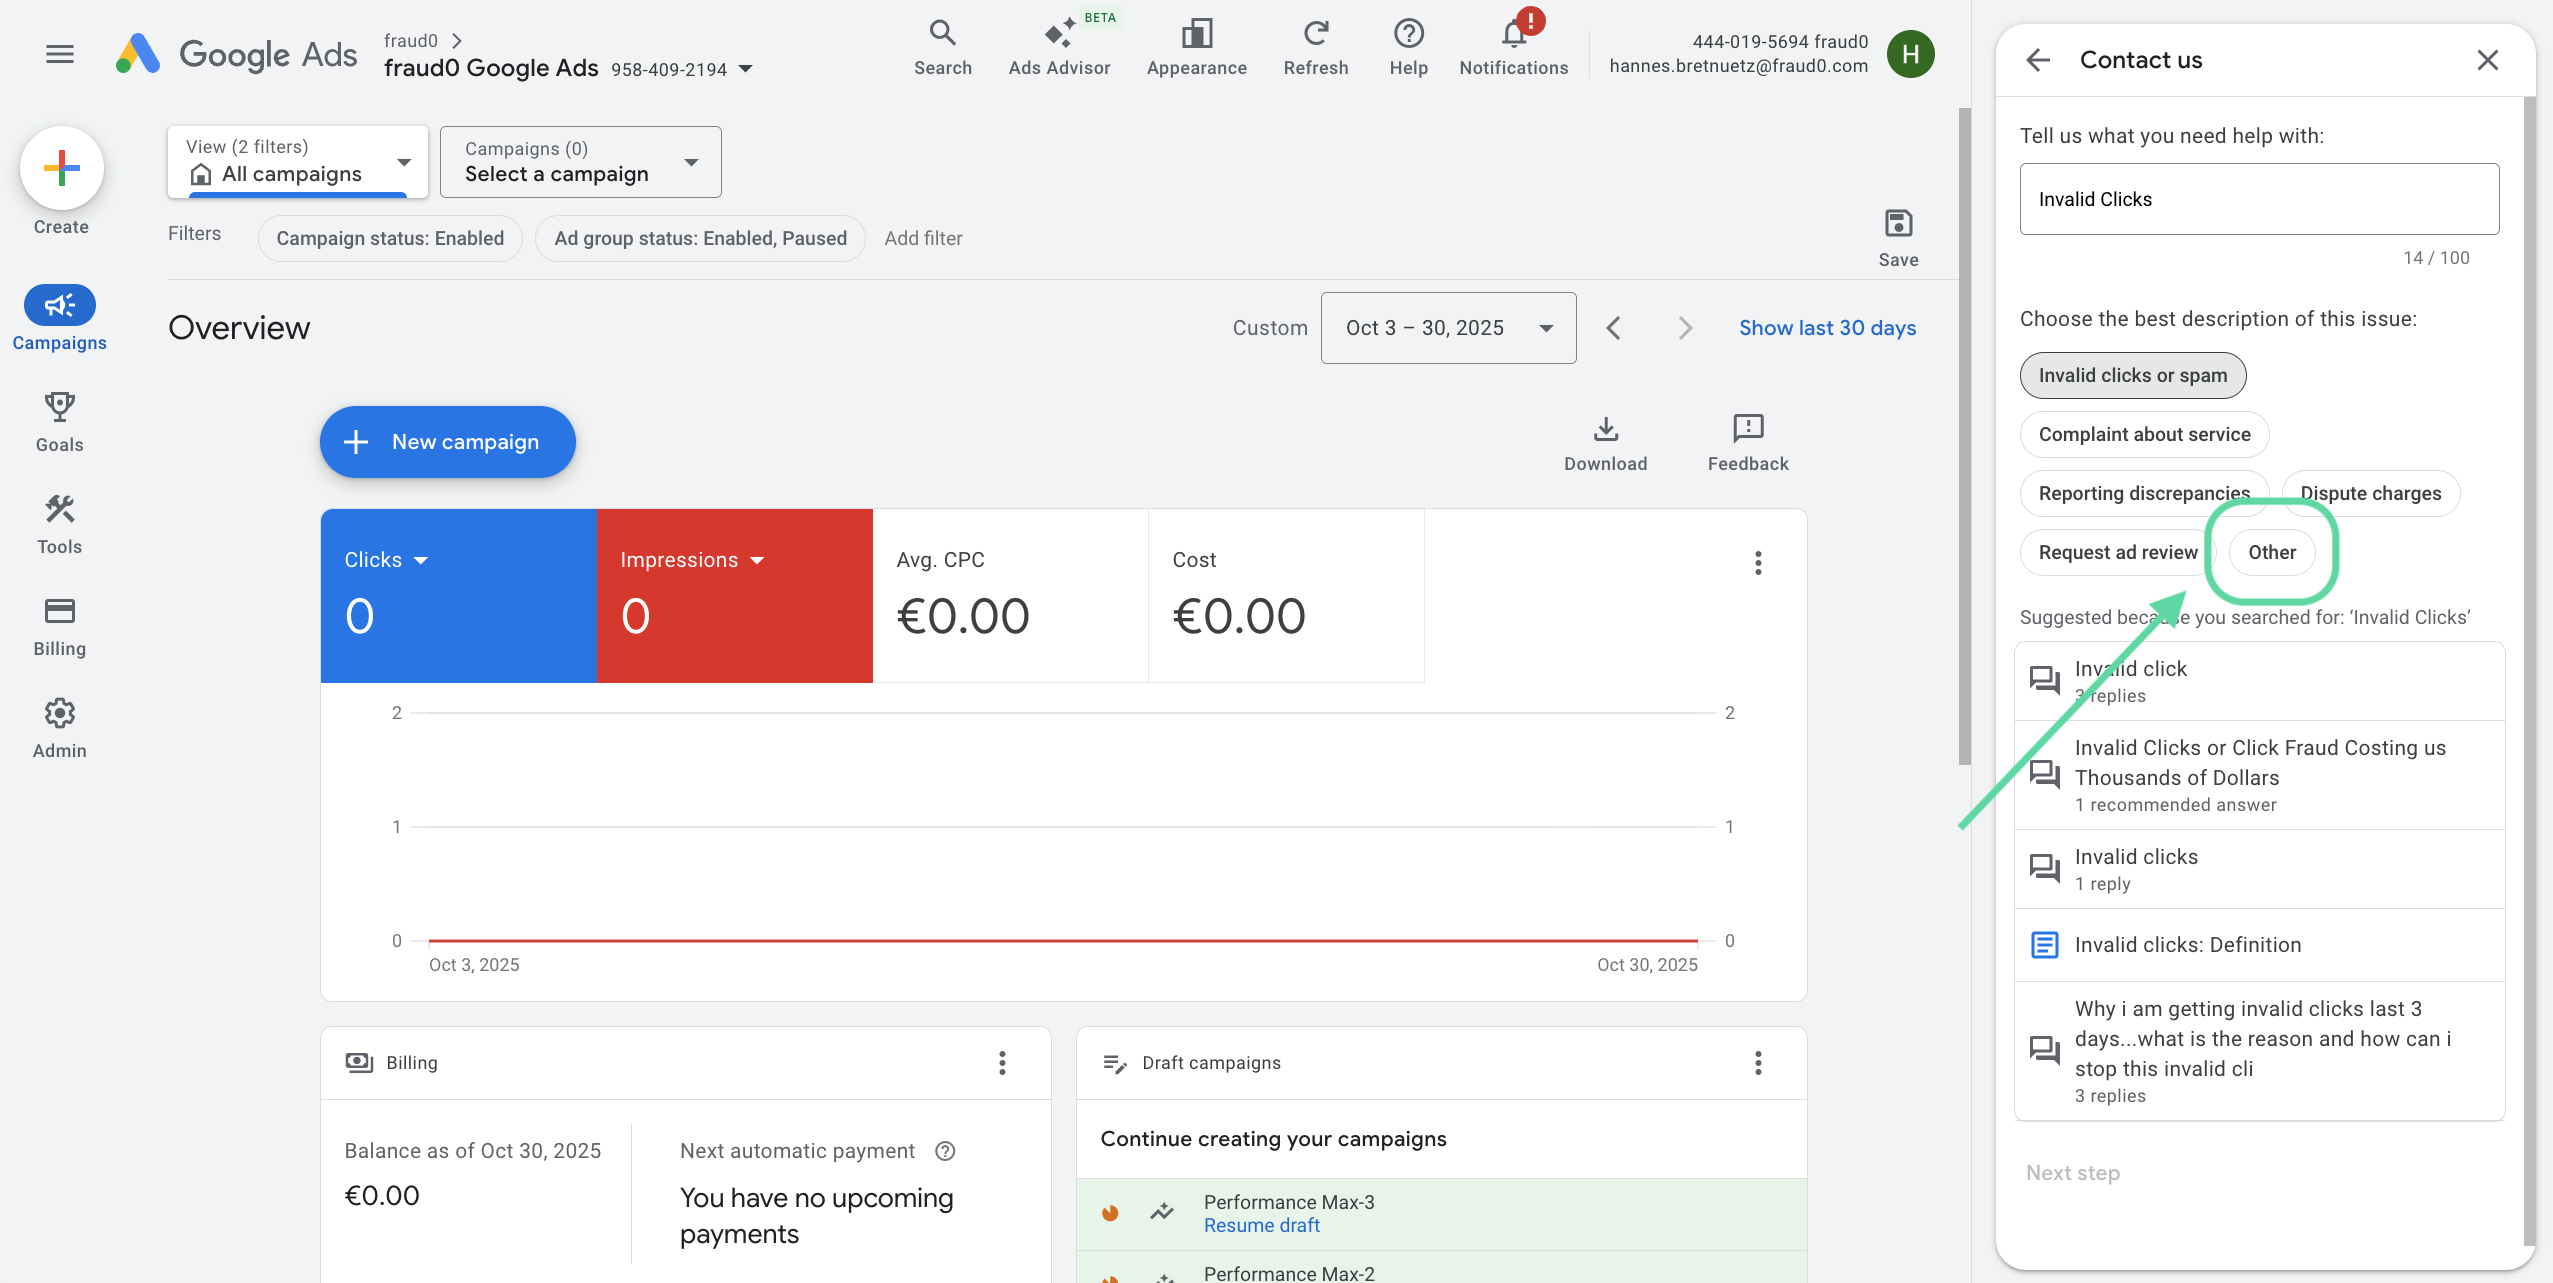
Step 4: Choose “Other”
Google will show several suggested help topics.
From the suggested topics, select Other to continue to the contact form.
Click Next Step again to proceed.
Step 5: Prepare Details
Before you continue, gather all relevant information:
Campaigns (Campaign Name, Campaign ID) affected by invalid activity
Date range of observed issue
fraud0 data export (showing IVT rates, traffic patterns, timestamps)
Screenshots or log extracts supporting the claim
Step 6: Select Account & Contact Method
Choose the Ad Account (and sub-account if you are operating within an MCC) for which you’re requesting a refund.
Under “Contact Options,” select Email - this allows you to include detailed documentation and attachments further below.

Step 7: Fill out the Refund Form
When the contact form opens, fill in each field carefully.
Use your fraud0 report data and Google Ads account information to ensure accuracy.
Field (as shown in the Google form) | What to Enter |
|---|---|
Contact Name | Your full name |
End Customer Company Name | The advertiser’s company name (not the agency name) |
Criticality & Impact on Business | Briefly explain why this issue matters. Example: “Detected invalid clicks inflated spend and may have reduced conversions. The issue affects ongoing campaign efficiency and budget allocation.” Be factual, not emotional - this helps Google route your case correctly. |
Account Login Email ID | The email address you use to sign into Google Ads. |
Contact Email | Where Google can reach you for updates. Usually the same as your login email. |
Email CC (optional) | Add any team members or colleagues who should stay in the loop. Multiple addresses separated by commas. |
Request Type | Select Campaign Specific if the issue affects certain campaigns only. Select Not Campaign Specific if the invalid clicks appear across multiple campaigns or accounts. |
Date Range When the Issue Appeared | Enter the start and end dates (MM/DD/YYYY) that correspond to the timeframe shown in your fraud0 report. |
Preferred Contact Method | Choose Email me for documentation-based cases, or Either phone or email if you’re open to both. |
Summary of the Issue | Explain the problem clearly and factually (see example below) |
Attach an uncropped screenshot or file | Upload a relevant supporting file - e.g. fraud0 IVT report export, screenshot of spikes in Google Ads, or billing discrepancies. Ensure screenshot shows: Account ID, Date Range, Page URL, and full visible report. |
Upload HAR File (Optional) | Only if requested by Google or if network-level investigation is needed. Follow Google’s HAR file instructions provided in the form. |
Feedback Consent (Optional) | Tick if you agree to receive follow-up feedback requests from Google. |
Example wording for the description:
During [date range], we observed a material volume of invalid clicks across our Google Ads campaigns. Our internal logs (GCLID-based, UTC timestamps) show clear patterns of: non-human / high-bounce activity ([volume]), repeat clicks from the same IPs reaching ≥100 unique GCLIDs within 24 hours ([volume]), and geo/device configuration violations ([volume]). Evidence includes per-click GCLIDs with IP and timestamp, plus aggregated tables showing the affected IPs and burst windows. Known crawlers (e.g., AdsBot-Google) were excluded. We request a review and credit for the associated invalid traffic for the stated date range.
Step 8: Submit and Follow Up
Click Submit once all fields and attachments are complete.
Google will send a confirmation email with a case number.
Keep this reference for future communication.
Refund reviews can take 2–6 weeks depending on complexity
What Happens Next
Google’s support team reviews your submission manually. They may reach out for additional evidence or clarifications.
If approved, a credit is applied directly to your Google Ads account under Billing → Adjustments.
If denied, review their feedback - you can reapply once per 60 days if you have new data
fraud0 Tips for a Stronger Case
✅ Be specific: Reference campaign IDs and exact timeframes.
✅ Use consistent data: fraud0 exports, GCLIDs, and timestamps should align.
✅ Stay factual: Avoid speculation or assumptions in your claim text.
✅ Submit promptly: Claims older than 60 days are rarely accepted.
✅ Save everything: Keep a copy of all attachments and Google correspondence.
Google currently offers two access routes for refund/invalid-click submissions: one via the in-dashboard Help panel, and a stand-alone ‘Click Quality’ URL. While the fields overlap, you may notice additional or slightly different questions depending on which path you use. Use whichever is available to you — the same internal support team handles both
Need support?
Do you still have questions or require further details? Contact our support team for assistance!